Company Settings
Set the company name, address, and logo that appear on your invoices and agreements.
Before you start
- Your company details appear on invoices, agreements, and client communications — so double-check the spelling.
- Only the account owner sees the Company tab. If you're working inside someone else's team account, this tab is hidden.
Set your company name and address
Go to SettingsCompany.
Fill in Company name, Street address, City, State / Province, and Postal code.
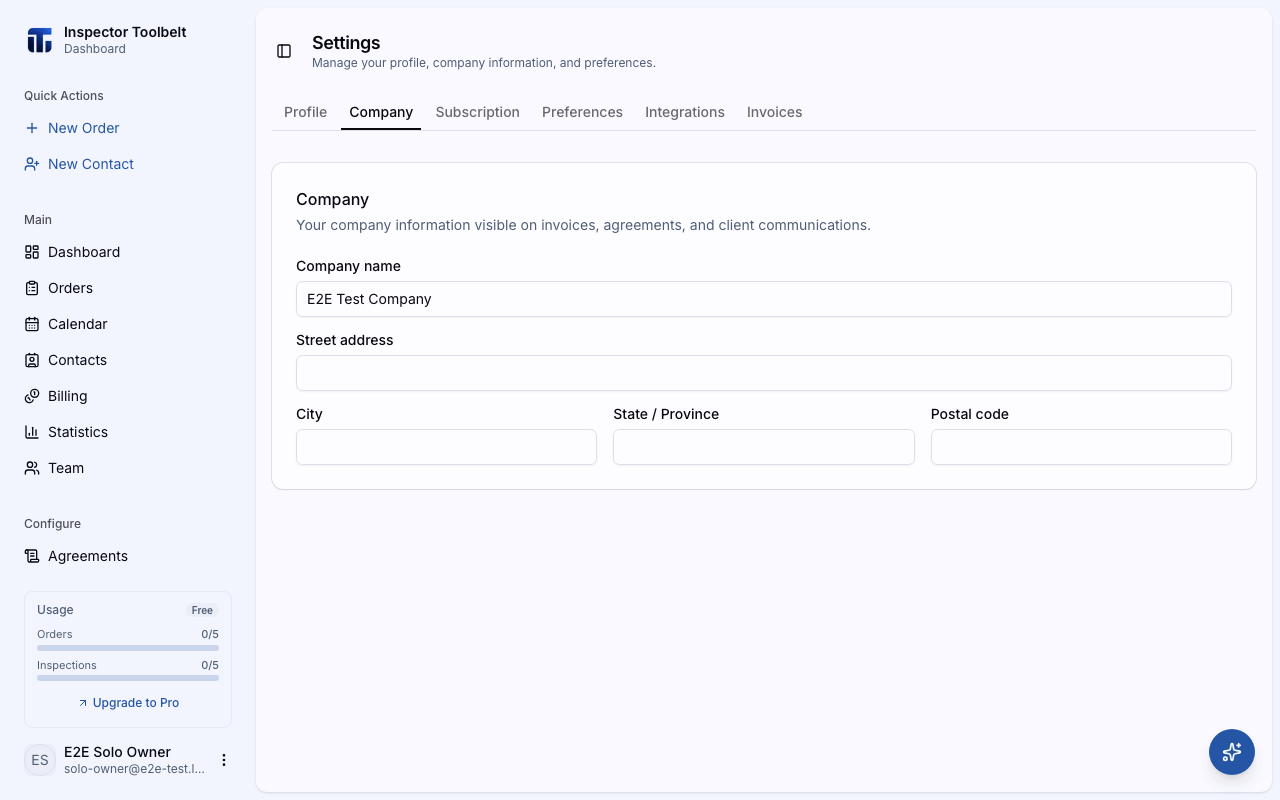
Stop typing — that's it. There is no Save button. Changes save on their own a moment after you finish.
Upload your company logo
Your logo appears on your booking page (when the Company Logo toggle is on), invoice PDFs, report headers, and agreement headers.
Go to SettingsCompany.
In the Company logo card, click Upload logo and pick an image. Use a square PNG, JPEG, or WebP image, at least 200×200px and under 2 MB.
A Logo uploaded message confirms the save. Use Replace to swap it or Remove to take it down.
What you should see
A short Company info saved message pops up after each change. New invoices and agreements will show the updated details.
If something goes wrong
- You don't see the Company tab — you're viewing a team account you don't own. Switch to your own account first.
- "Failed to save company info" — check your internet connection, then edit the field again to retry.
Settings reference
| Field | Description |
|---|---|
| Company name | Your business name |
| Street address | Your business street address |
| City | City |
| State / Province | State or province |
| Postal code | Postal or ZIP code |
Company logo on the booking page
Upload your logo here, then turn on the Company Logo toggle in your booking page branding settings to show it to clients.
Related
- Profile Settings — your personal details
- Booking page — logo and client-facing branding
- Creating Invoices — where your company details show up