Creating Invoices
Create a draft invoice from an order, then finalize and send it to your client.
Overview
Every invoice starts life on a Order. You create a draft from the Order's pricing, review it, then finalize and send it. Your client gets an email with a secure payment link.
Before you start
- Connect your payment account. Go to SettingsInvoices and complete the setup in the Online Payments card (click Enable Online Payments and follow the prompts). Invoicing only works once your account setup is complete — until then, the Order's Billing tab shows "Enable payments in Settings to start invoicing" instead of the Create Invoice button. See How Billing Works for what each setup state means.
- The Order needs a client email and at least one line item. The invoice is emailed to the client on the Order, and every invoice needs at least one item with a non-zero amount.
- You need permission to edit the Order. Owners, admins, managers and schedulers can create, finalize, update and discard invoices. Inspectors can't, even on Orders assigned to them.
Invoices can be created for you
When you approve a Order, an invoice is created and sent automatically — unless you turn off the Automatically create invoices toggle on the Billing tab (or in the approval dialog). The steps below are for creating one yourself.
Create a draft invoice
Open the Billing tab
Navigate to the Order detail page and click the Billing tab.
Start the invoice
Click Create Invoice in the Invoices card. This button only appears when the Order has no active invoice yet — if one already exists, you'll see Supplemental Invoice for billing newly added items instead.
Review and create the draft
The sheet opens with the client's details and line items filled in from the Order's pricing. You can change the client's name and email and pick an optional Due Date. If you leave the due date empty, your default payment terms from SettingsInvoices are used (Net 30 unless you've changed it).
Click Create Draft. The invoice is saved in Draft status — nothing has been sent to the client yet.
When the order changes after you made a draft
A draft is a snapshot of the Order's pricing. What happens when the pricing changes depends on how the draft was made:
- You change the services on the Order and save. A draft the dashboard built from the Order (for example the one created automatically, or one from the Create Invoice sheet where you changed no line) is updated to match as part of that save. You don't have to do anything.
- The Order changed some other way. The Billing tab shows a This draft is out of date notice. Click Update draft to rebuild the draft from what the Order lists now. Nothing changes until you click. For a draft the dashboard built, Finalize & Send stays switched off until you update it, so an out-of-date draft can't be sent by mistake.
- Drafts from before this notice existed. Older drafts are never changed on their own. If one no longer matches the Order, you see the same notice. Clicking Update draft replaces its items with the Order's current items, so only click it if you don't need the old amounts.
- A draft where you edited the lines in the Create Invoice sheet. If you changed any amount or description, or added or removed a line, the draft is yours. The notice doesn't appear for these, and the dashboard never replaces them. Discard the draft and create a new one if you want it to follow the Order again.
If everything on the Order is already invoiced, Update draft removes the draft instead, since there is nothing left to bill.
Only one draft at a time
While a draft exists, Create Invoice is hidden. Finalize the draft, or discard it, before you start another.
Finalize and send
Click Finalize & Send
On the Billing tab, click Finalize & Send on the draft invoice.
Confirm
A confirmation dialog explains that this assigns an invoice number and sends the invoice to the client for payment — and that it can't be undone. Click Finalize & Send to confirm.
Finalizing never changes the Order's prices or services. The invoice is sent exactly as the draft lists it, so a "50% deposit" line stays on the invoice and leaves the Order alone. To change what you bill, update the draft first.
What you should see
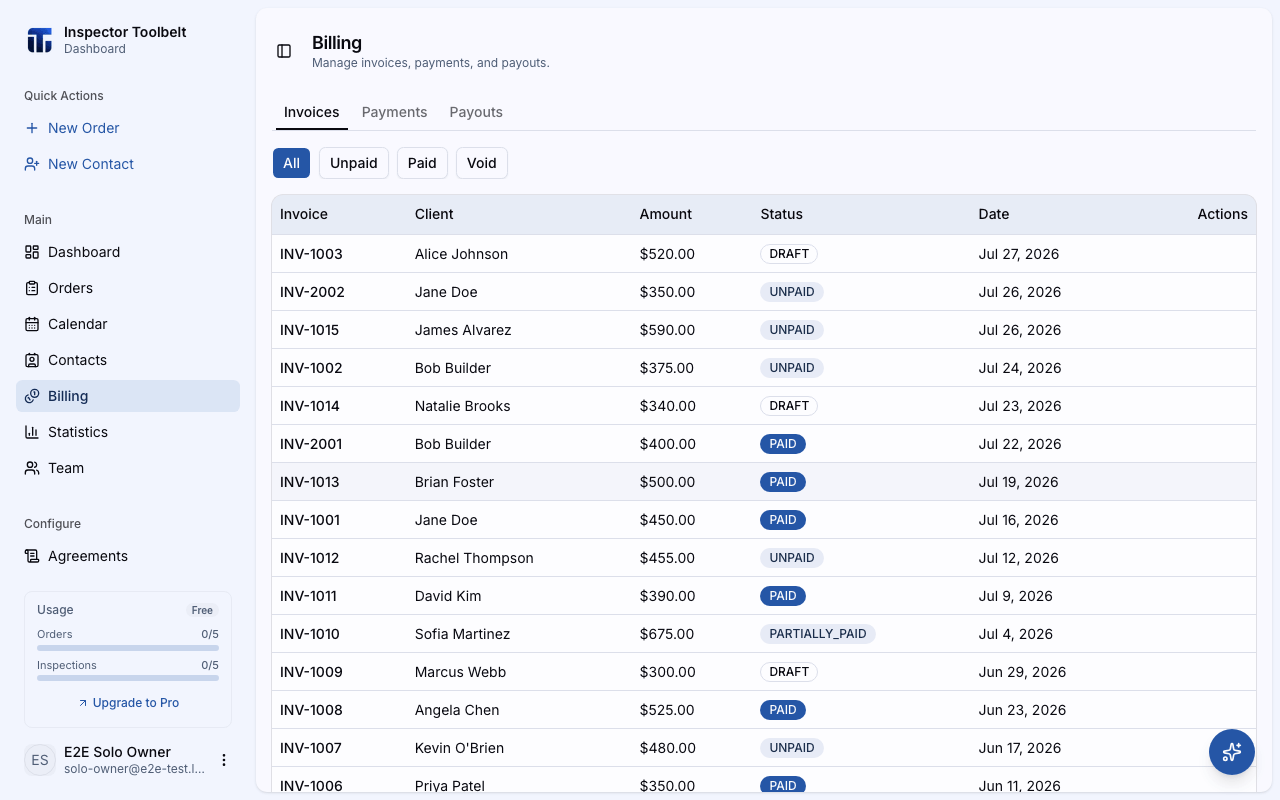
- The invoice moves to Unpaid and gets a number like INV-1001 (you can change the prefix in SettingsInvoices).
- The client receives an email with a payment link. It comes from the dashboard itself rather than Stripe, and points at your own payment page — the only place clients can choose bank transfer or see the cash and check methods you accept. You can also open that page yourself (View Payment Page), share the link (Copy Payment Link), or download the PDF (Download PDF) from the invoice row.
- When the client pays online, the invoice flips to Paid automatically and the payment shows up in the billing history — no action needed from you.
Invoice statuses
| Status | Description |
|---|---|
| Generating… | An automatic invoice is being created right now. It becomes Unpaid within a few seconds |
| Generation failed | The automatic invoice never finished. Discard the row and create a new invoice |
| Draft | Invoice created but not yet finalized or sent |
| Unpaid | Invoice sent to the client, awaiting payment |
| Paid | Full payment received |
| Partial | Partial payment received |
| Refunded | Full refund issued |
| Partial Refund | Partial refund issued |
| Void | Invoice cancelled — no payment can be collected |
Payment methods
- Online: clients pay through the secure payment page linked in the invoice email. It lists every way you accept payment — card, bank transfer if Stripe has approved it, and any cash or check methods you have declared — and shows what each one costs. If you charge a technology fee, it applies to card payments only.
- Offline: if a client pays you directly — cash, check, Venmo, Zelle, or bank transfer — use Record Payment on the unpaid invoice so your books stay accurate. See Recording Payments.
If something goes wrong
- A second invoice next to one that's already sent is an add-on. It is marked as a supplemental invoice automatically. It bills only the items it lists and never changes the Order's prices.
- "This invoice is still being created. Try again in a moment." Another invoice, finalize or update on this Order is still running. Wait a few seconds and try again. If a row stays stuck, open its menu and click Discard draft.
- "There's nothing left to invoice." Everything on the Order is already on an invoice.
- "This draft no longer matches the order. Update the draft, then finalize it." The Order changed after the dashboard built the draft. Click Update draft on the Billing tab, then Finalize & Send.
- "Invoice issued, but the order wasn't fully updated." The invoice was sent to your client. Only the Order's own bookkeeping didn't finish. Click Retry on the notice to finish it; it won't send the invoice again.
- "You don't have permission to do that." Your role can't create or change invoices. Ask an owner, admin or manager.
- No Create Invoice button? Your payment account setup isn't finished. Go to SettingsInvoices and complete the steps in the Online Payments card.
- The client didn't get the email? The invoice is still valid. Use Copy Payment Link on the invoice row and send the link yourself.
- Wrong amount on a finalized invoice? You can't edit a finalized invoice. Void an unpaid one and create a new invoice, or refund a paid one — see Refunds and Voids.
- An invoice row says Generation failed? The automatic invoice that started when you approved the Order didn't finish. Open the row's menu, click Discard draft, then create the invoice again.
For more help, see Payment Troubleshooting.