Public Booking Page
Set up your public online booking page so clients can book and pay themselves.
Overview
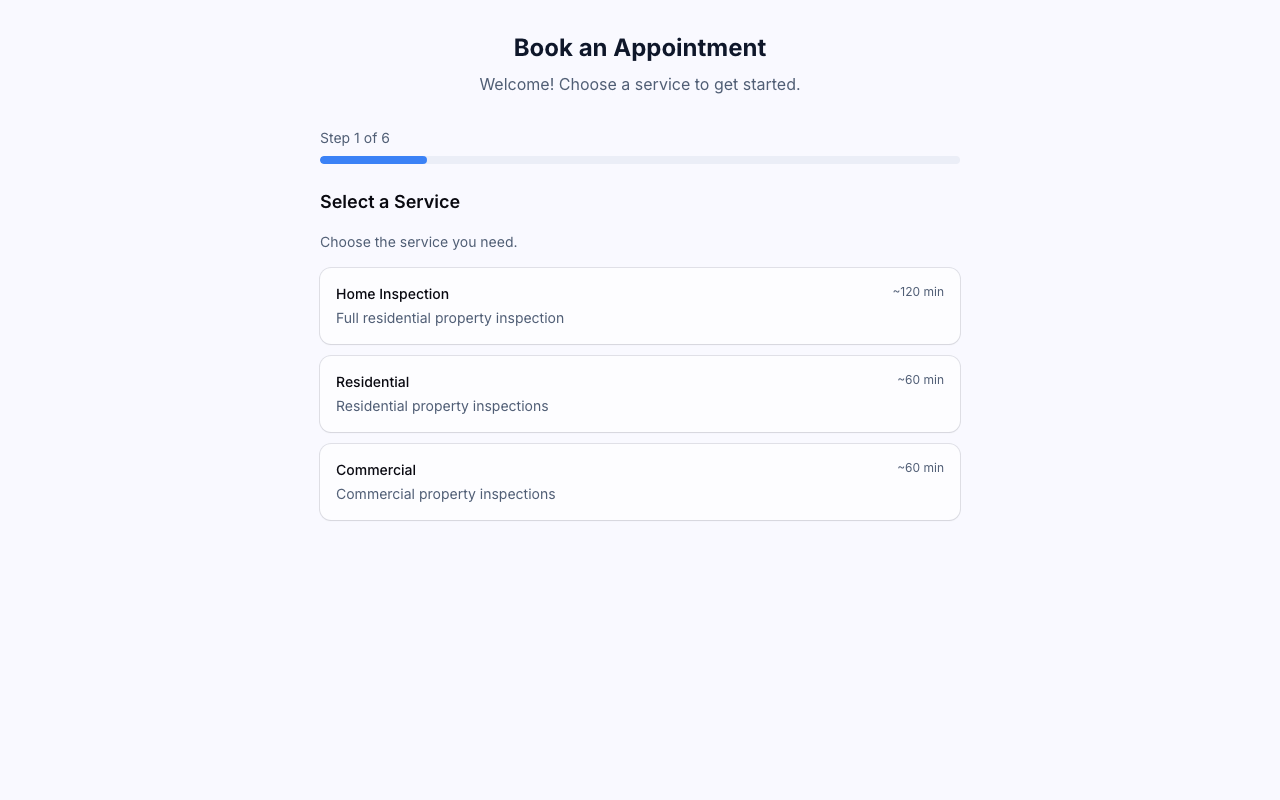
The booking page is a public-facing form where clients can book an appointment, enter their property details, add optional services or service bundles, and pay online — without you lifting a finger. On the final review step, clients see their appointment details and an itemized price breakdown (services, add-ons, bundle savings, and any coupon applied); after booking, the confirmation page lets them add the appointment to their calendar — Google Calendar or a downloadable .ics file. Every booking creates a new Order with New status in your dashboard.
Enabling Online Booking
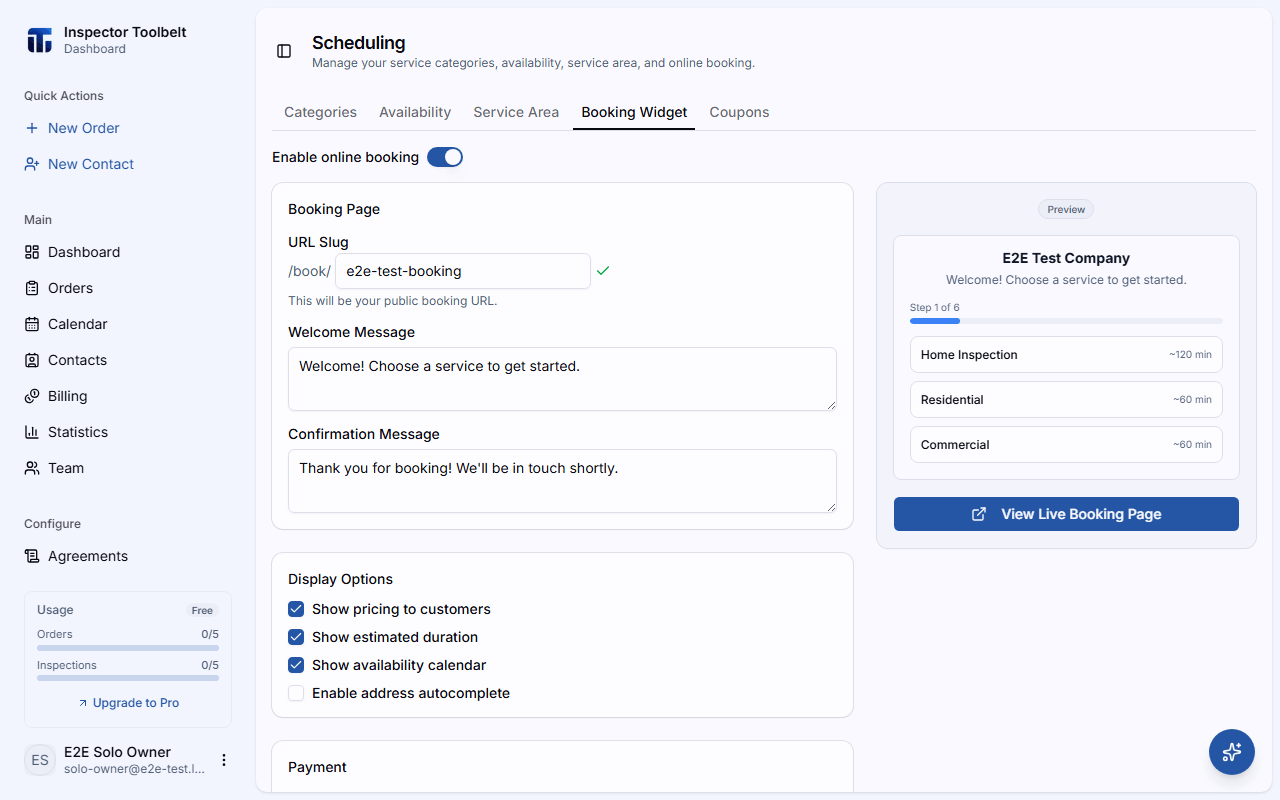
Navigate to SchedulingBooking Widget and turn on Enable online booking. The URL and configuration options appear once booking is enabled.
Your Booking URL
Set a URL Slug — this becomes your public booking link. Slugs may only contain lowercase letters, numbers, and hyphens, and must start and end with a letter or number. Capital letters are converted to lowercase automatically, and links work no matter how they're capitalized. The dashboard checks availability as you type and confirms when the slug is free; if you type characters outside that format, you'll see a distinct "invalid characters" message instead of the "already in use" message. Click away from the field (or move to the next setting) to save your slug.
Use View Live Booking Page to open your page exactly as clients see it.
Configuration
Messaging
Customize the Welcome Message shown at the top of the form and the Confirmation Message shown after a client books.
Display Options
Choose what clients see:
- Show pricing to customers
- Show estimated duration
- Show availability calendar
- Enable address autocomplete
Payment
Turn on Collect payment at time of booking to require payment before a booking is confirmed. Then choose a Deposit Type:
| Deposit Type | Behavior |
|---|---|
| Full payment | Client pays the entire amount |
| Percentage deposit | Client pays a percentage you set (1–100%) |
| Fixed deposit | Client pays a fixed amount you set |
You can also set a Tax Rate (0–30%), which applies to taxable line items at checkout.
When the Technology Fee is on, clients see the card total and the fee-free alternative at the review step, and can choose Bank transfer when it's active. The fee applies only to the amount collected at booking — any remaining balance is invoiced later, without the fee.
Stripe required
Collecting payment requires a connected Stripe account. See How Billing Works to set it up.
Terms & Branding
Add your Terms & Conditions and an optional Privacy Policy URL. Clients see the terms text on the review step, right above the "I accept the terms and conditions" checkbox — they can't submit the booking without accepting.
Under branding, set your Primary Color and Accent Color, and toggle whether to show your Company Logo and Company Name in the header. The logo itself is uploaded on SettingsCompany — see Company Settings; the toggle stays off until a logo exists.
Choose a Font Family from the dropdown — a set of fonts every browser can display without extra loading time: System Default, Inter, Arial, Helvetica, Georgia, Times New Roman, Verdana, Tahoma, Trebuchet MS, and Courier New. If your booking page was already using a font outside this list, it still appears in the dropdown labeled "Custom: (font name)" so you don't lose it by accident.
Set Logo Position to Left or Center to control where your logo, company name, and heading sit in the header. Both the preview and your live booking page update to match.
What clients can book
The services offered on your booking page — including any bundles you've set up — come from your Service Categories, and the bookable time slots come from your Availability.