Connect Apps to the API
Create API keys, authorize apps like Zapier, and control what they can access.
For advanced users
This page covers the developer-facing side of ITB: API keys and OAuth app connections. If you just want to push data to other tools when things happen, see Webhooks first.
There are two ways an outside app can access your account through the Go Toolbelt external API:
- API keys — you create a key and paste it into your own script or a tool that asks for one. Best for server-to-server integrations and custom software.
- OAuth — apps like Zapier send you to an ITB consent screen where you approve access with one click. No key handling needed.
Before you start
- API keys and webhooks live on SettingsIntegrations.
- An API key acts on your own account's data. It grants only the permissions you pick when creating it, and almost all permissions are read-only (the exception is webhook management).
- You can have up to 10 active API keys at a time.
Create an API key
Open the API Keys card
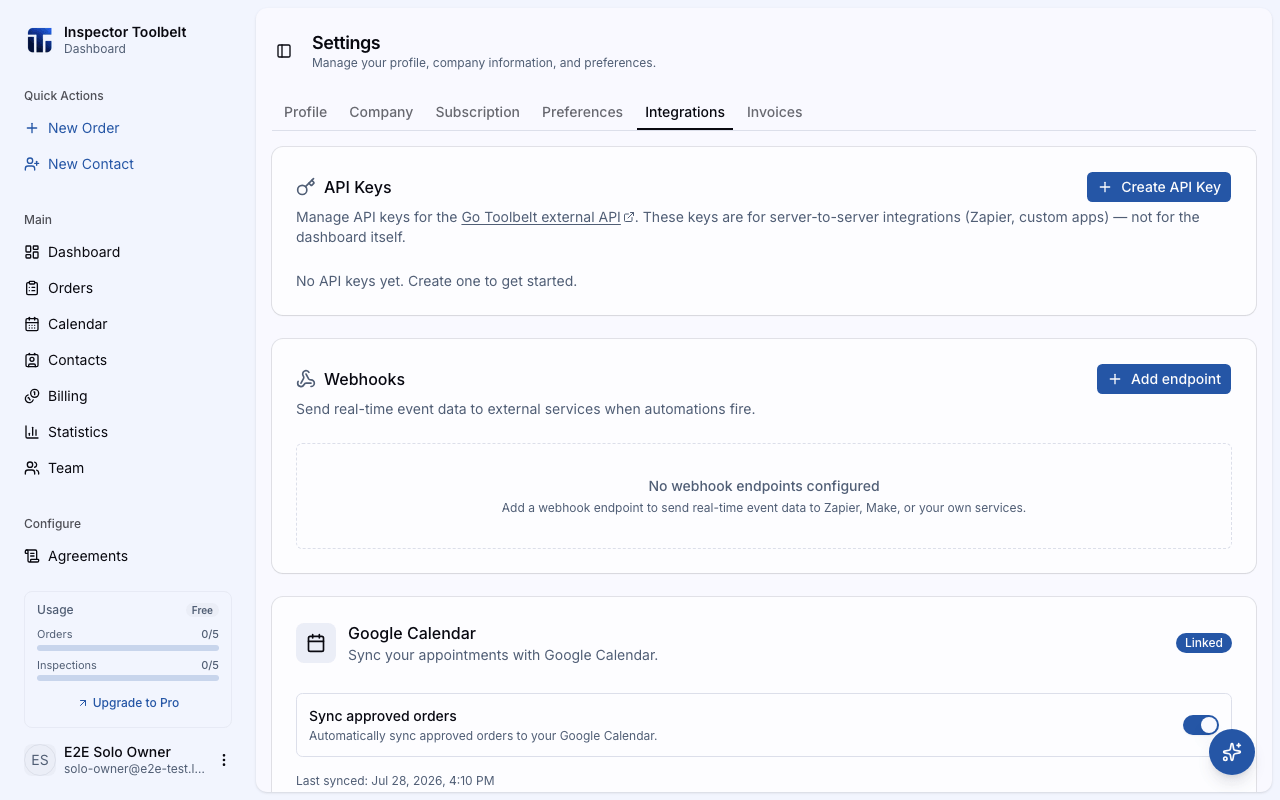
Go to SettingsIntegrations. The API Keys card is at the top.
Name the key and pick permissions
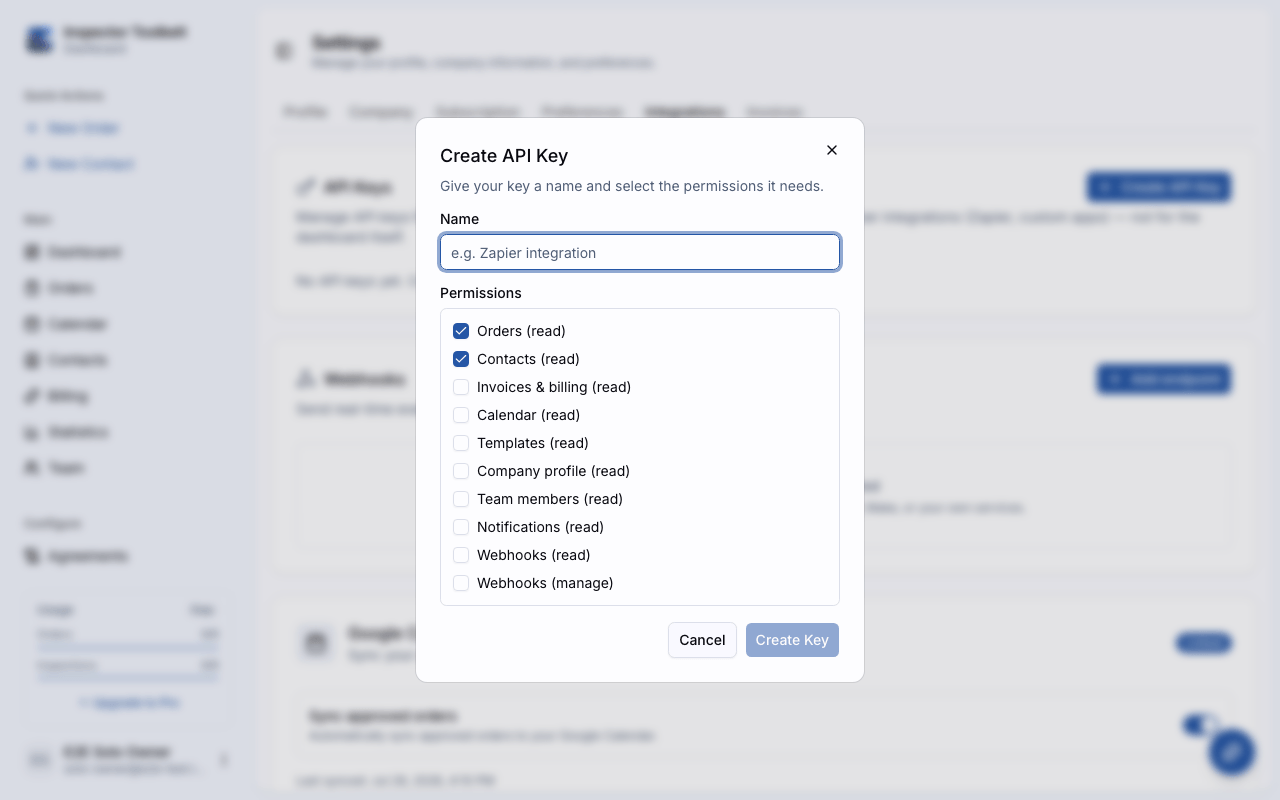
Click Create API Key. Give the key a name that tells you what it's for (e.g. "Zapier integration"), then check the permissions it needs. Orders (read) and Contacts (read) are pre-selected; see the permissions table below for the full list.
Copy the key
Click Create Key. Your new key appears once — copy it with the copy button and store it somewhere safe.
Copy your key now
The key is only shown once. If you lose it, revoke it and create a new one — there is no way to view it again.
What you should see
The new key appears in the API Keys list with its name, permission badges, and creation date. Once an app starts using it, a Last used date appears too.
If you're the developer: send the key in the X-API-Key header on requests to https://api.inspectortoolbelt.com/v1/.... Interactive endpoint documentation lives at api.inspectortoolbelt.com/docs (also linked from the API Keys card).
Revoke an API key
Find the key in the API Keys list and click the trash button next to it.
Confirm with Revoke. Any integrations using this key stop working immediately.
Authorize an app with OAuth
Some apps (Zapier, Make, and other registered partners) connect through OAuth instead of an API key. From your side the flow looks like this:
In the outside app, choose to connect your ITB / Go Toolbelt account. The app sends you to an ITB consent screen (you'll be asked to sign in first if you aren't already).
The consent screen shows the app's name, the account you're signed in as, and exactly what the app will be able to do — for example "View your Orders and order details".
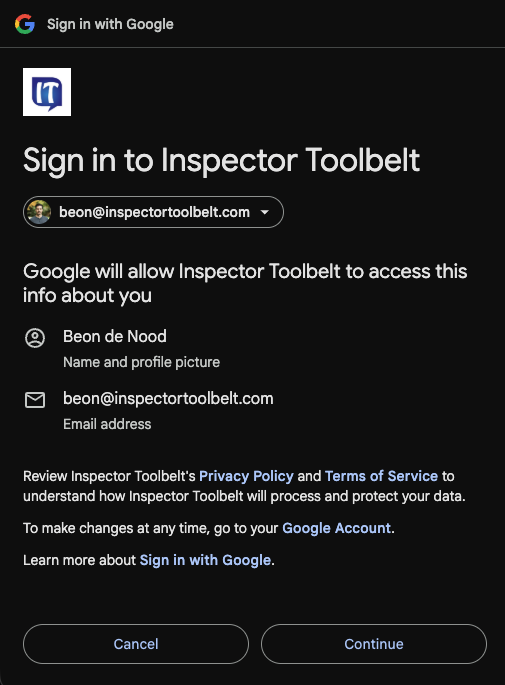
Click Allow Access to approve, or Deny to cancel. Either way you're sent back to the app.
An app can never receive more than the permissions it was registered for — the same list as the permissions table below.
You can't register your own OAuth app
OAuth apps are registered by the ITB team, not from your account settings. If you're building a custom integration for yourself, use an API key instead.
Connect Zapier or Make
Zapier and Make connect through the OAuth flow above — search for the ITB / Go Toolbelt app in their app directory and click connect. When you set up a Zap trigger, Zapier automatically creates the matching webhook subscription on your account, so there's nothing to configure under Webhooks yourself.
Available Zapier triggers: Order created, approved, completed, rescheduled, and status changed, plus invoice paid and Report published. The exact payloads are documented in the Webhook Events reference.
Permissions reference
These are the permissions (scopes) an API key or OAuth app can hold:
| Permission | Scope | What it allows |
|---|---|---|
| Orders (read) | orders:read | View Orders and their details |
| Contacts (read) | contacts:read | View contacts |
| Invoices & billing (read) | billing:read | View invoices and transactions |
| Calendar (read) | calendar:read | View calendar events and availability |
| Templates (read) | templates:read | View Report templates |
| Company profile (read) | company:read | View your company profile |
| Team members (read) | team:read | View team members |
| Notifications (read) | notifications:read | View notification settings |
| Webhooks (read) | webhooks:read | View webhook endpoint configurations |
| Webhooks (manage) | webhooks:write | Create, update, and delete webhook endpoints |
Every permission except Webhooks (manage) is read-only — a key or connected app can never create, change, or delete your Orders, contacts, or invoices through the API.
If something goes wrong
- An integration suddenly stopped working — check whether its API key was revoked (revocation is immediate), and that the key holds every permission the integration needs. A request missing a permission is refused with a "missing required scope" error.
- "Invalid API key" errors — the key was mistyped or revoked. Keys can't be viewed again after creation; create a new one.
- Create Key button does nothing — you need a name and at least one permission checked; you may also be at the 10-key limit (revoke an old key first).
Related
- Webhook Events — every event and payload the API sends
- Webhooks — receive real-time event data at your own endpoint
- Integrations — everything on the Integrations tab