Creating an Order
Every field, option, and save action on the new order form.
Overview
This guide covers everything on the new Order form — all fields, the optional sections, and the difference between Save Draft and Create & Approve.
Just learning?
If this is your first Order, start with the quick tutorial instead: Your First Order.
Before You Start
- You need permission to create Orders. Team members with the Inspector role have read-only access — the form redirects them back to the Orders list. See Team Roles.
- Your services come from your categories. The Inspection Type options, pricing, and add-on services are configured under SchedulingCategories.
- Free plan limit. On the Free plan you can only create a limited number of Orders. See Subscription.
Creating orders on mobile
The mobile app's order form saves instantly, even without a connection — it syncs automatically once you're back online. The same free plan order limit applies there too; going over it shows a brief upgrade message with no link — open the web dashboard yourself and go to Subscription to upgrade.
Filling Out the Form
Open the Form
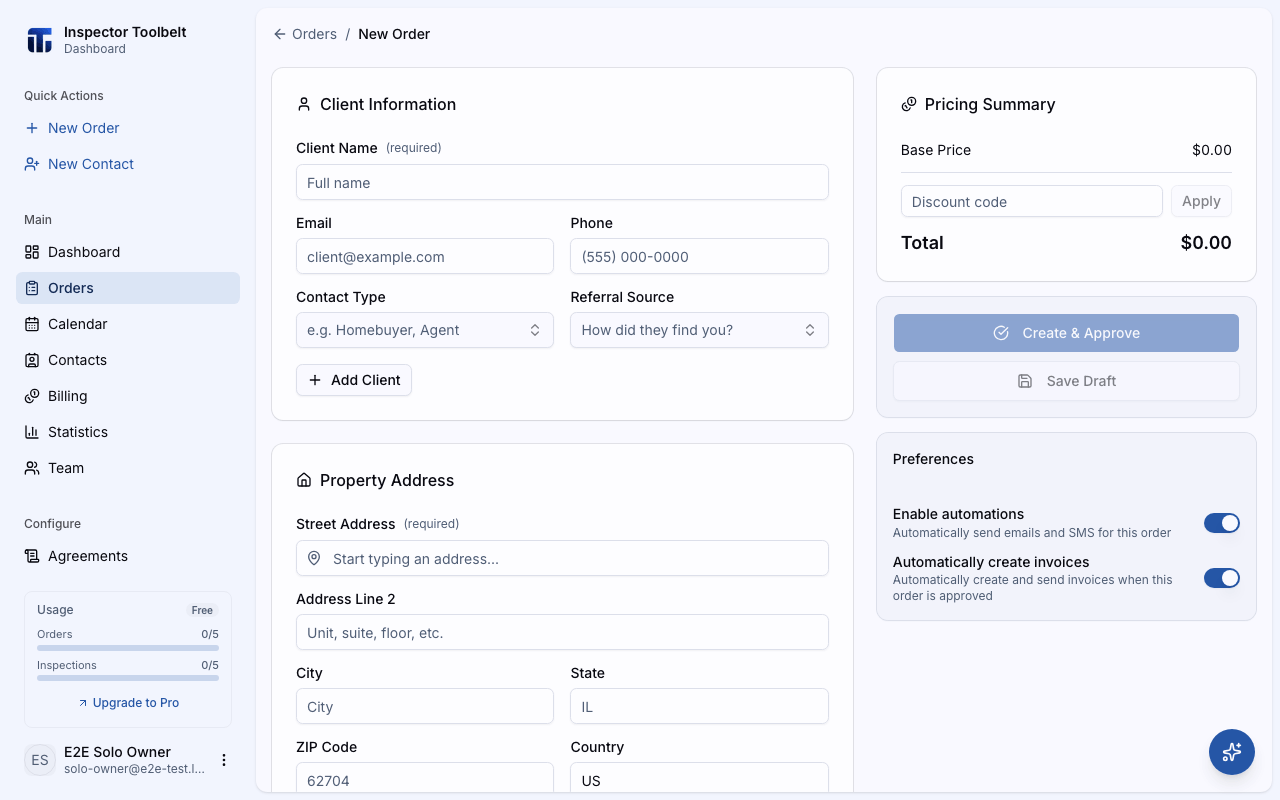
Click Orders in the sidebar, then click New Order.
Starting from the calendar
If you open the form from the calendar, the appointment date and time are pre-filled for you.
Client Information
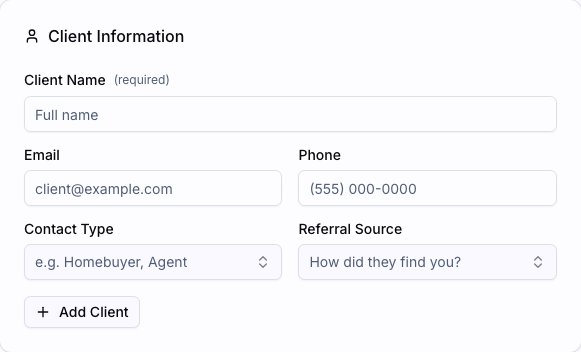
| Field | Required |
|---|---|
| Client Name | ✅ Yes |
| ✅ Yes | |
| Phone | Optional |
| Contact Type | Optional |
| Referral Source | Optional |
If the client already exists in your contacts, search for them and their details auto-fill. A brand-new client with an email or phone is saved to your contacts automatically when the Order is created.
Need more than one client on the Order? Click Add Client to add additional clients.
Address
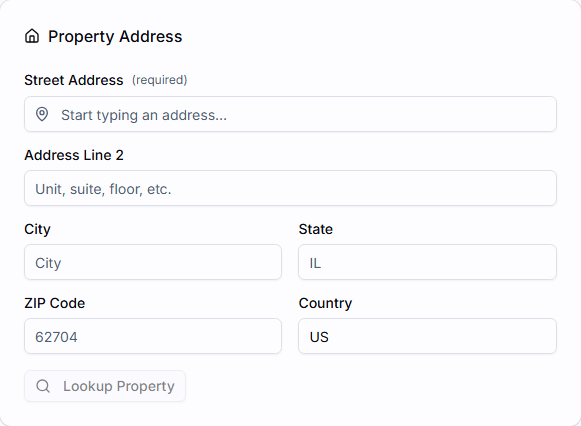
| Field | Required |
|---|---|
| Street Address | ✅ Yes |
| Address Line 2, City, State, ZIP Code, Country | Optional |
The street address field suggests matches as you type (Google Places autocomplete).
If you type the address by hand instead, entering a US ZIP code or a Canadian postal code fills in the city and state or province, unless you've already typed them. The State and ZIP labels and the postal-code keyboard follow the address's country.
After you enter the address, the dashboard automatically looks up public records and fills in details like square footage and year built, and matches the property type to your configured options where it can. On mobile, the lookup runs after you pick a suggested address, or when you tap Lookup Property if you typed the address by hand. It needs a connection, so it's unavailable while Work offline is on or you have no signal.
Service Details
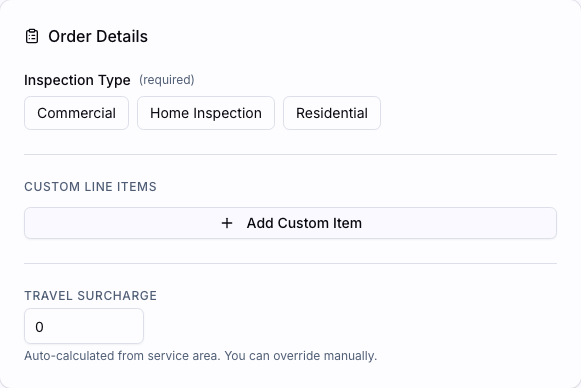
Select the Inspection Type. This drives the base price shown in the Pricing Summary.
Depending on how the category is configured, you may also see options for property type, property size, and square footage — each can adjust the price and time.
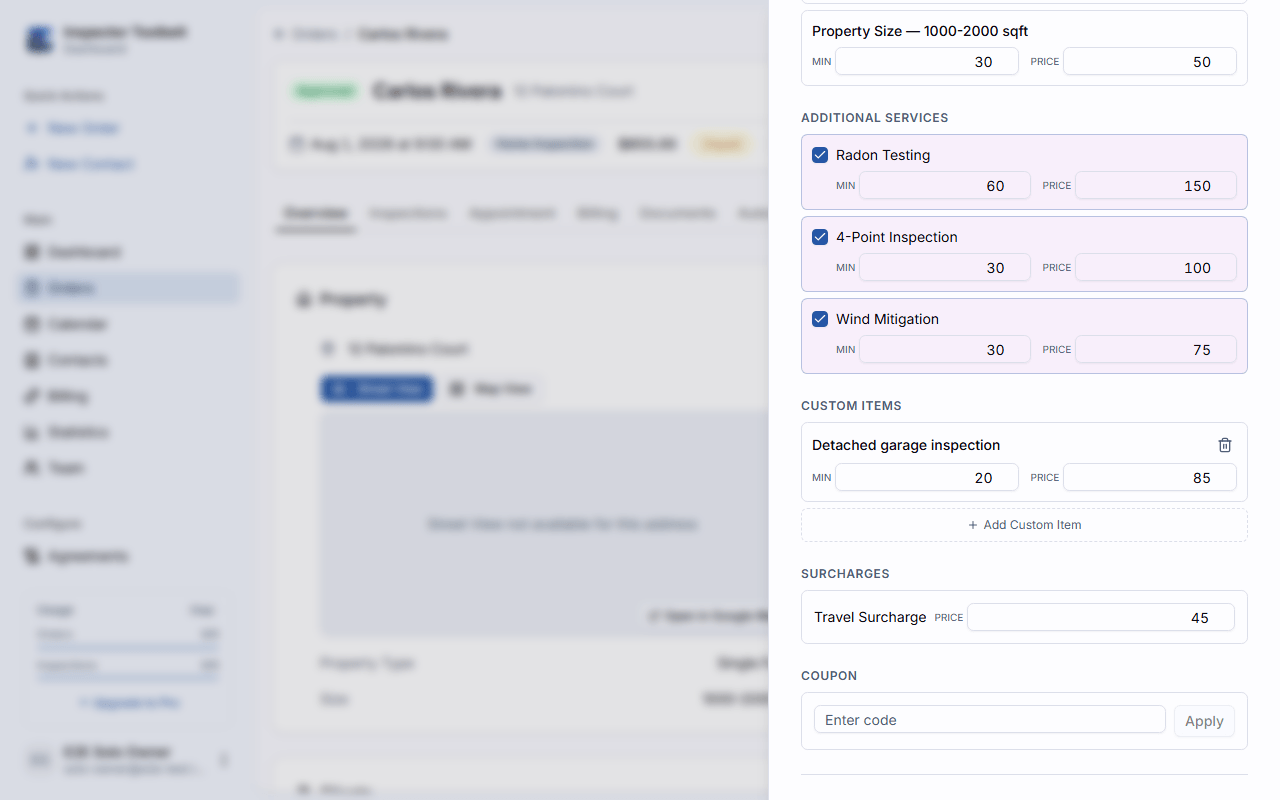
You can also add:
- Additional Services — toggle any add-on services configured for the selected Inspection Type to add them at their listed price.
- Additional Information — extra options configured for the category.
- Custom Line Items — a free-text description, a price, and an estimated time in minutes. Custom items work even without a Inspection Type selected.
- Travel Surcharge — calculated automatically from your service area settings; you can override the amount manually.
Appointment
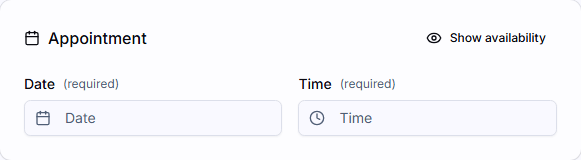
Choose the appointment Date and Time — both are required to approve the Order. Click Show availability to see which time slots are open before you pick. With it on, a slot that falls in your Time Away is labelled Time Away — you can still pick it.
If the time you picked would run into your own Time Away, an amber warning appears under the field. Clicking Create & Approve or Save Draft then opens a Time Away conflict dialog: Book anyway saves the Order as usual, Cancel takes you back to the form so you can pick a different time.
On mobile, the time chips come from your configured schedule for the day you picked. You can still choose a time outside it with the time picker — the app shows a warning, and you can still save it. Picking a time that runs into your Time Away shows the same warning and asks you to confirm before saving, on both the new-order and edit-order screens. If your schedule hasn't loaded (for example, offline on a new device), a default list of times is shown instead.
Optional Sections
Assign Team Members (Teams Only)
If you're working in a team account, an assignment section lets you add Inspectors to the Order. Each person shows as Available or Unavailable for the chosen time, with the reason (booked, time off, or a calendar event). Assigned members are notified when the Order is created and approved.
Agent Information
For real estate transactions, add buyer's agent and listing agent details — name, email, and phone for each. Search existing agents in your contacts to auto-fill.
Pricing and Preferences (Sidebar)
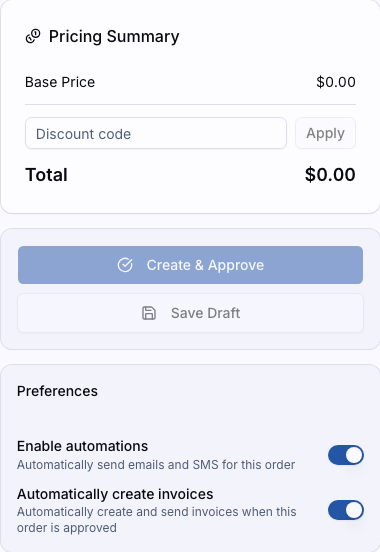
The sidebar shows a live Pricing Summary — base price, additional services, custom items, travel surcharge, and total. You can enter a discount code and click Apply.
Below the save buttons, two per-Order preferences start from your account defaults:
- Enable automations — automatically send emails and SMS for this Order.
- Automatically create invoices — automatically create and send an invoice when this Order is approved.
Save Draft vs. Create & Approve
| Action | Needs | Result |
|---|---|---|
| Save Draft | Client name only | Saved with Draft status; you return to the Orders list and can finish later |
| Create & Approve | All required fields (below) | Created with Approved status; you're taken to its detail page |
After you save a draft, find it again under the Draft status filter on the Orders list, or the Drafts pill in the mobile app. You can approve it from its detail page on either one — see Order Statuses.
Required to approve: client name, client email, street address, a Inspection Type (or at least one custom line item), appointment date, and appointment time. While anything is missing, Create & Approve stays disabled — hover or tap it to see exactly which required fields are left. If a filled-in field has an invalid value (like a malformed email), you'll be asked to correct the highlighted fields.
Automatic Invoicing
- With Automatically create invoices on, an invoice is created and sent as soon as the Order is approved.
- With it off, clicking Create & Approve opens a confirmation dialog. It warns that automations referencing the invoice payment link won't work, and lets you switch invoice creation back on before approving.
What You Should See
After Create & Approve, you land on the Order's detail page with an Approved status. From there you can manage invoices, agreements, automated notifications, and activity history — see Editing an Order. For the full status lifecycle, see Order Statuses.
If Something Goes Wrong
- The buttons stay disabled — hover Create & Approve to see the required-fields checklist; Save Draft only needs a client name.
- "Please correct the highlighted fields" — a filled-in value is invalid (most often an email address). Fix the fields marked in red.
- You're sent back to the Orders list when opening the form — you don't have write access (the Inspector role is read-only), or you've reached the Free plan's Order limit.
Related
- Your First Order — the quick tutorial version of this page
- Editing an Order
- Rescheduling and Canceling
- Order Statuses