Your First Order
Walk through creating your first order from start to finish.
Overview
Orders are the core of your business workflow in ITB Dashboard. Each Order represents work for a client, at a Property, on a scheduled date. This tutorial walks you through creating one — from a blank form to an approved appointment on your calendar.
Need every option?
This tutorial keeps things simple. For every field, optional section, and save option, see the full guide: Creating an Order.
If you arrive here from the setup guide in the top bar, the optional sections — team assignment, agents, and notes — start collapsed so the five fields you actually need stand out. Click any section heading to expand it.
If setup drafted a Inspection Type that matches one you now have, that Inspection Type is already selected and a note at the top of the form says which one. Click Pick it myself in that note to clear it. Nothing is preselected when no drafted service matches.
Before You Start
You just need to be signed in. If you don't have an account yet, start with Creating Your Account.
Creating the Order
Open the New Order Form
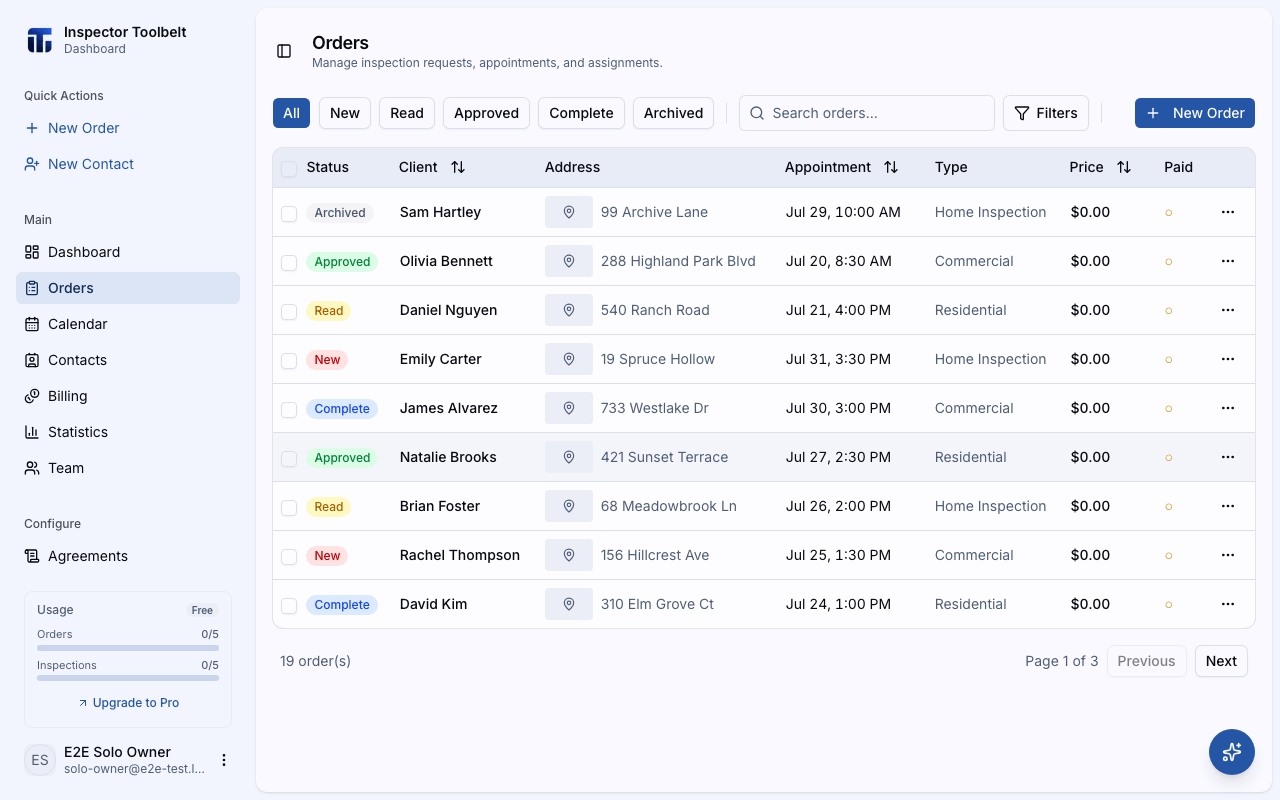
Click Orders in the sidebar, then click the New Order button in the top-right corner.
Enter the Client's Name
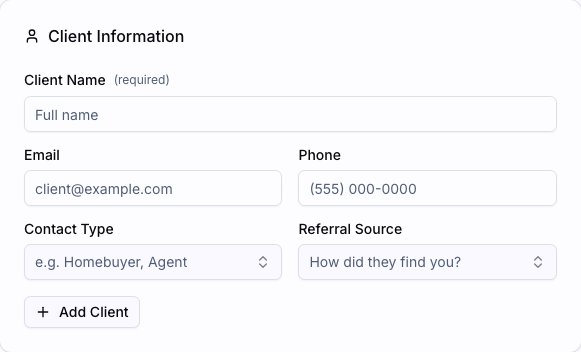
Type the client's full name in Client Name and their email address in Email — both are required. Add their phone too if you have it.
Enter the Address
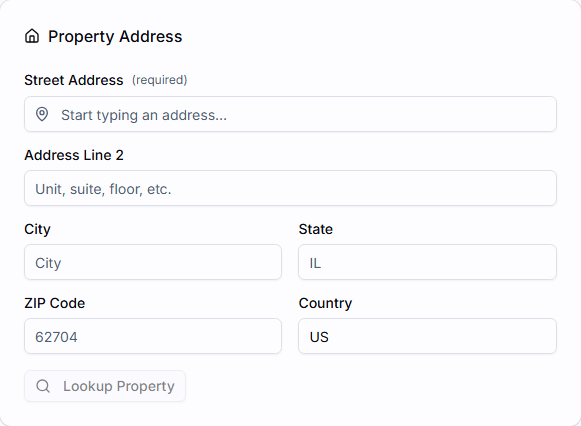
Start typing the Property address in Street Address and pick the right match from the suggestions.
Details fill in automatically
After you enter the address, the dashboard looks up public records and fills in details like year built and square footage for you.
Choose the Service
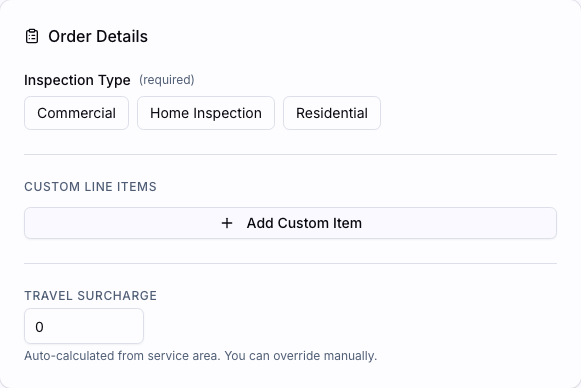
Select the Inspection Type for this Order. Watch the Pricing Summary in the sidebar — it updates as you make choices.
Pick the Date and Time
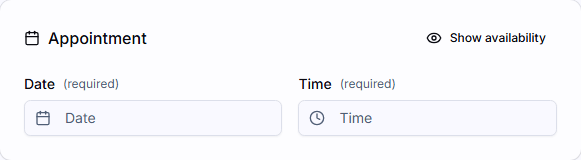
In the Appointment section, choose the date and time for the visit.
Create & Approve
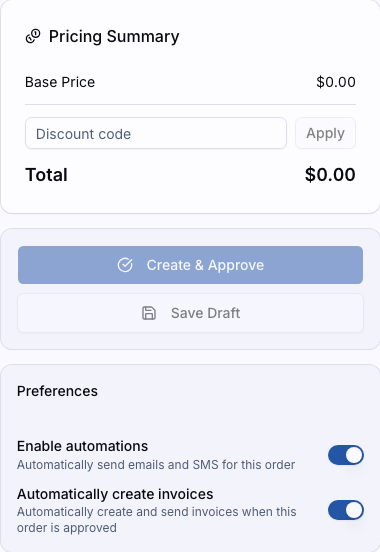
Give the Pricing Summary one last look, then click Create & Approve. The button becomes available once the required details are filled in: client name, client email, address, service, date, and time.
What You Should See
You land on the new Order's detail page with an Approved status. A celebration message confirms this is your first Order. Your Order now appears in your Orders list and — because it's approved — on your calendar on the appointment date. If automatic invoicing is turned on for your account, an invoice was created for it at the same time.
The Create your first Order step on your setup guide is now checked off automatically. Creating your first Order also unlocks the Get paid chapter.
Next Steps
- Creating an Order — the complete guide: drafts, add-on services, agents, team assignment, and more
- Rescheduling and Canceling — change the date or cancel an appointment
- Order Statuses — what Approved and the other statuses mean