Creating Your Account
Sign up for ITB Dashboard and get started with your service business.
Before You Start
Have ready:
- An email address you can access, or a Google or Apple account to sign in with.
- A password of at least 6 characters (email sign-up only).
- Your basic business details — company name, phone number, team size, and your role — for the setup form.
Setting Up Your Account
Visit the Sign-Up Page
Navigate to the ITB Dashboard sign-up page. You can create an account using your email and password, or continue with Google or Apple.
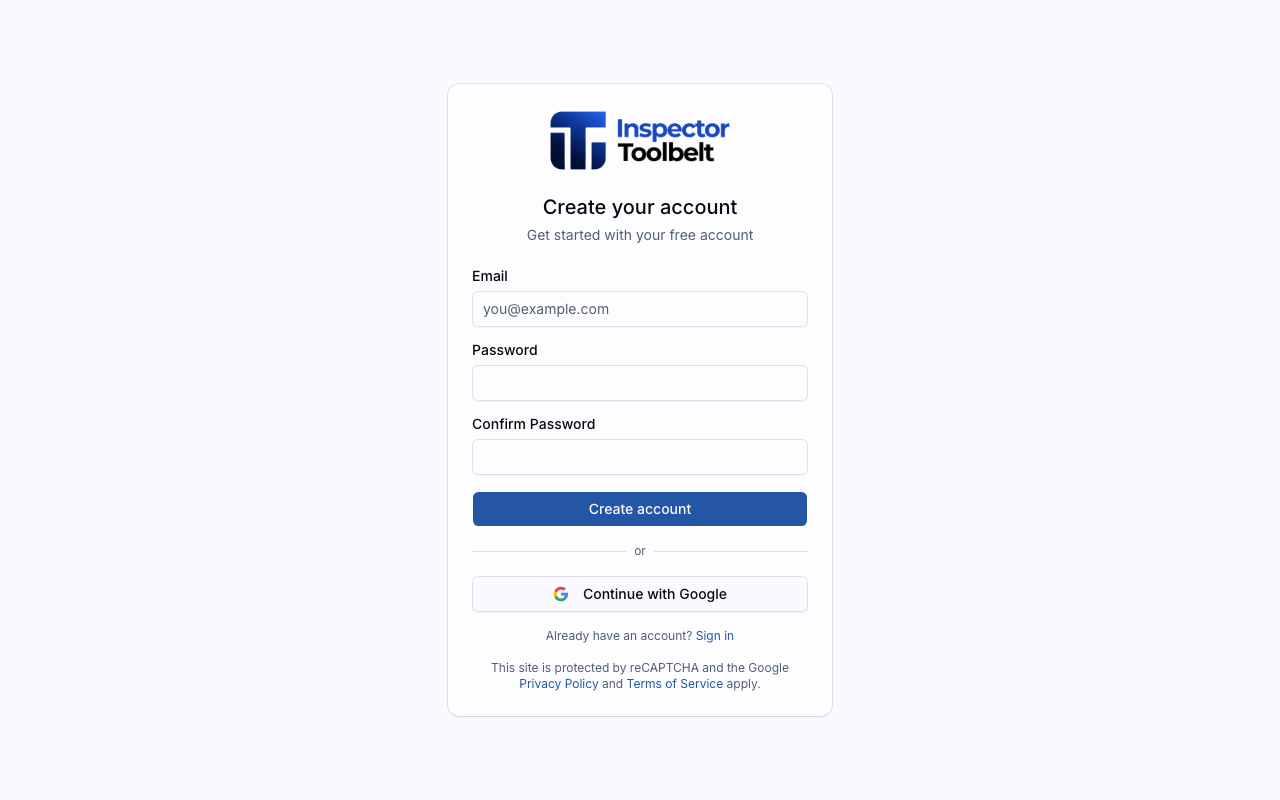
Create Your Account
Enter your email address, choose a password (at least 6 characters), and confirm it. Then click Create account.
Prefer Google or Apple? Click Continue with Google or Continue with Apple instead and finish signing in with that account in the pop-up window.
Signing up with Apple
The first time you use Apple, it asks whether to share your name and email or to hide your email. If you choose to hide it, your account is created under a private relay address that Apple manages, so keep using Continue with Apple to sign in rather than email and password.
If you ever delete this account, you sign in with Apple once more to confirm, and the app's access to your Apple ID is removed right away. See Delete Your Account.
Have a group code from a school or partner organization? Click Use a group code first and enter it before creating your account — see Using a Group Code for details.
Complete Onboarding
After creating your account, you'll see a short form with five required fields:
| Field | Description |
|---|---|
| Full name | Your name (pre-filled if you signed in with Google, or with Apple and chose to share your name) |
| Company name | Your business name |
| Phone number | Your primary phone number |
| Company size | How many people work in your business |
| Your role | Whether you're the owner, run the office, or work in the field |
Click Get started to save your profile.
Signed up in the mobile app?
You can create your account in the mobile app with email and password, Google, or Apple. The first time you open it, the app shows the same setup form as the web: Welcome! Let's set up your account. Answer the five questions (Your name, Company name, Phone number, Company size, and Your role) and tap Get started. The app takes your timezone and country from your phone. This step needs an internet connection. You can tap Sign out to use a different account.
The first time you sign in on a phone, a short walkthrough of four cards shows you Today, your Orders, working on site, and Set up the rest on the web. The last card tells you that your services, availability, and the rest of your business setup are added on the web dashboard, where the Get started checklist walks you through each step. Tap Skip to leave the walkthrough. Accounts that already finished setup, on the web or in the older Inspector Toolbelt app, go straight in.
Set Up Your Business
Next comes a short setup form, three screens long. Each screen has Next to move on, Back to change an earlier answer, and Skip for now to leave that screen to sensible defaults.
- Services -- the Inspection Type entries clients book, each with a starting price. Two are filled in for you, at a typical rate you should change to your own, and you can rename or remove them or add more. Below them, tick any add-ons you offer, such as radon or a sewer scope. Size tiers and per-property prices come later, in Inspection Type settings.
- Hours and area -- the days and times you work, one row per day, starting at Monday to Friday, 8 to 5. Then the city and state you work in, and how far you will travel.
- Your data -- the software you use today. Pick Spectora, Home Inspector Pro, Tap Inspect or InspectIT and an offer to bring your data across appears straight away. See Bringing Your Data Across for what each one offers.
Click Finish on the last screen and your answers are saved straight to your account. There is nothing further to confirm.
Rather describe your business in your own words? Click Set up my business with AI at the top of the first screen to switch to the AI Setup Interview. If you change your mind there, I'd rather set this up myself brings you back to the form.
The whole step is optional. Your profile is already saved, so Skip setup and go to the dashboard costs you nothing but the head start.
What You Should See
After you click Finish, you land on your dashboard, the home screen for your new account. The setup guide opens itself once on that first visit to show you where it lives: the Get started pill in the top bar.
Your services, prices, working hours and service area are already set, and the matching steps in the setup guide are already ticked off. Change any of them whenever you like in Scheduling.
A screen you skipped writes nothing at all, so nothing you did not choose ends up on your account. The setup guide still lists those steps and links to the right settings page for each one.
If you used the setup conversation instead, you see a short summary of what it prepared before you reach the dashboard. See AI Setup Interview.
If Something Goes Wrong
- The email is already in use — an account with that email already exists, so sign-up fails with an error. Use the Sign in link at the bottom of the form to sign in instead.
- Password errors — "Password must be at least 6 characters" means pick a longer password; "Passwords do not match" means the confirmation field doesn't match — retype both.
- Google or Apple sign-in fails — signing in with Google or Apple opens a pop-up window. If your browser blocks pop-ups, you'll see "Your browser blocked the sign-in window. Allow pop-ups for this site and try again." Allow pop-ups for the site and click the provider button again. Closing the pop-up yourself simply cancels the sign-in with no error shown.
- "Failed to save profile." — the setup form didn't save. Check your connection and click Get started again.
- "This account is scheduled for deletion. Contact support to recover it." — the account was closed, so the setup form can't finish and saves nothing. See Delete Your Account.
- Security verification fails — the page uses reCAPTCHA to block bots. If verification fails or times out, click Try verification again and resubmit.