Setting Up Automations
Configure automated notifications and messages for your business workflow.
Automations let you send email and SMS messages automatically based on Order lifecycle events. For example, you can send a reminder to the client 24 hours before their appointment.
Manager only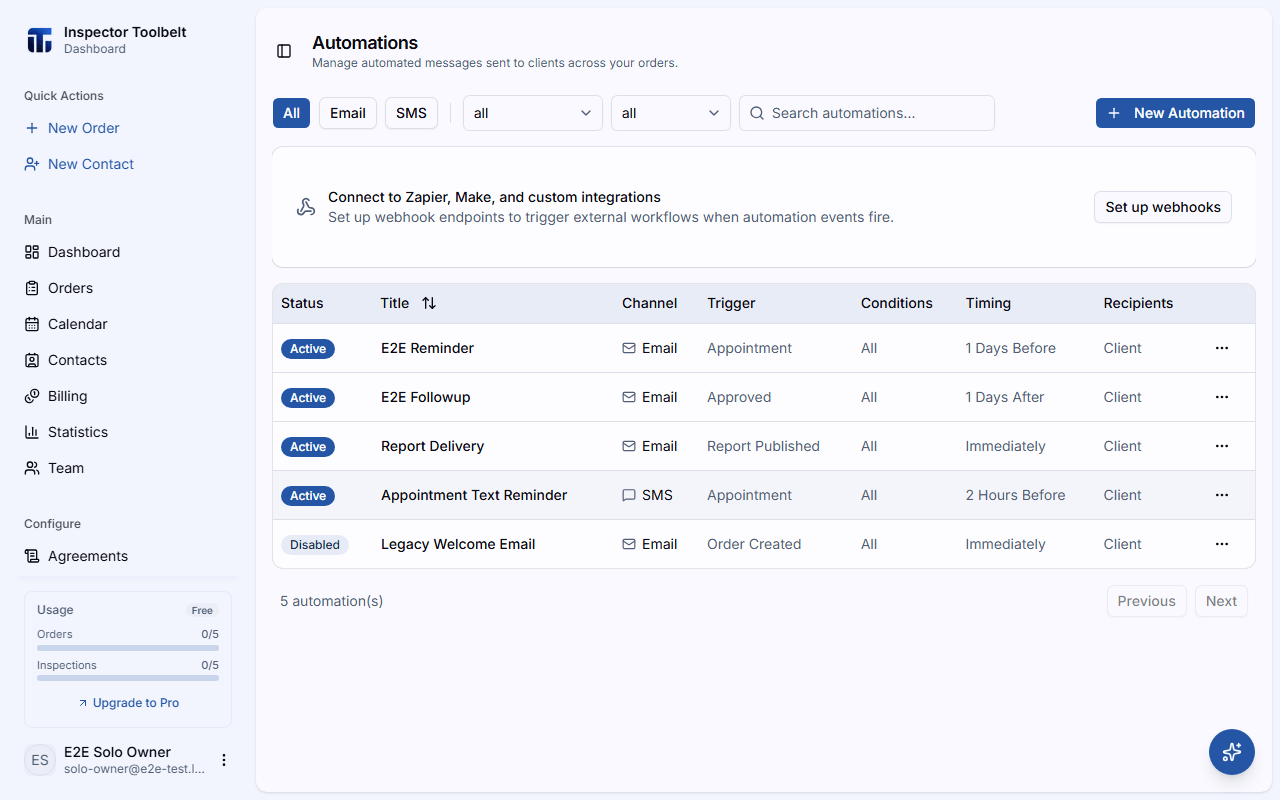
Before you start
- On a team account, you need the Admin or Manager role to create or edit automations.
Creating an Automation
Navigate to Automations
Click Automations in the sidebar and then click New Automation.
Configure the Trigger
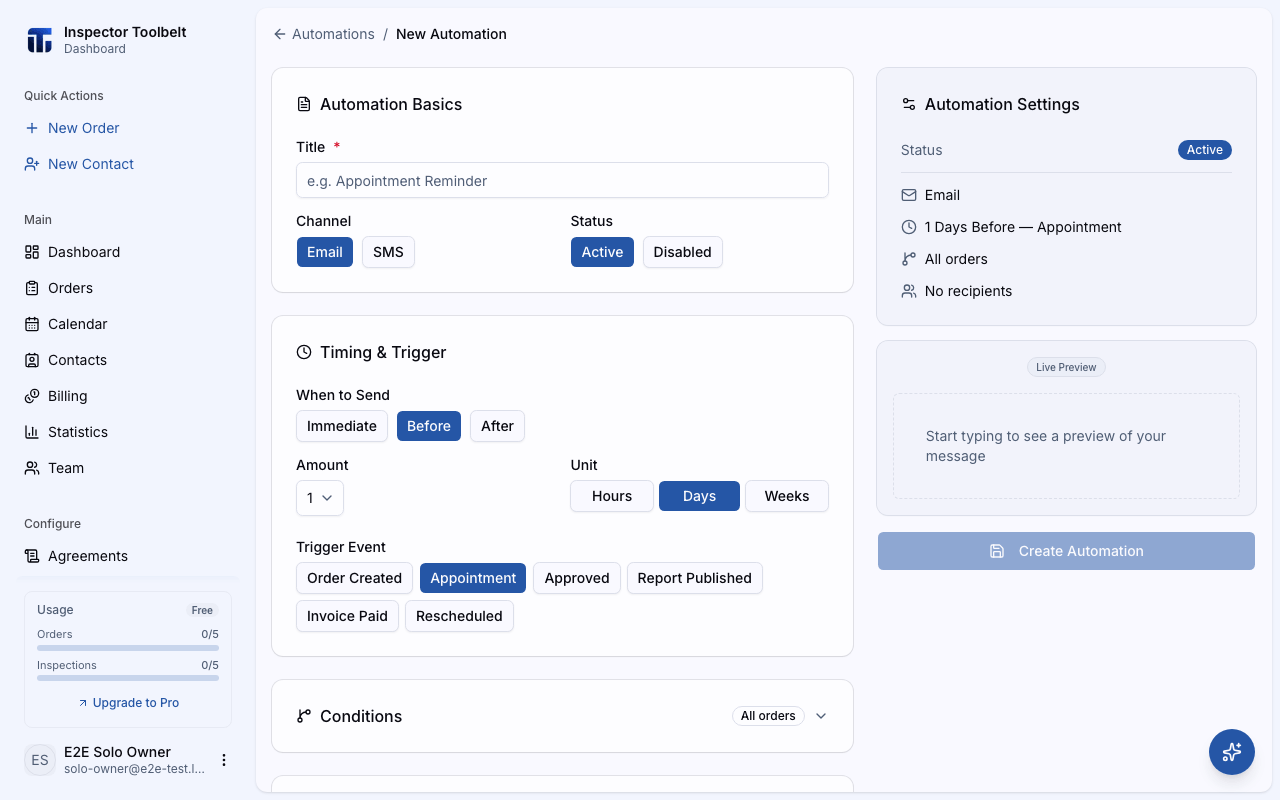
Set up when and how the automation fires:
| Setting | Description |
|---|---|
| Title | A descriptive name for this automation |
| Channel | Email or SMS |
| Trigger Event | The event that activates this automation (see trigger types below) |
| When to Send | Immediate, or a set amount of time Before/After the trigger (Hours, Days, or Weeks) |
| Recipients | Who receives the message — the client, the assigned Inspector (shown on team accounts), plus any extra email addresses you add under Additional Recipients |
Available Triggers
| Trigger | Description |
|---|---|
| Order Created | When the Order was originally created |
| Appointment | The scheduled appointment date and time |
| Approved | When the Order is approved |
| Completed | When the Order is marked completed |
| Report Published | When a report is published |
| Invoice Created | When an invoice is issued and the client can pay it |
| Invoice Paid | When a client pays an invoice |
| Rescheduled | When an appointment is rescheduled |
Timing restrictions
The Approved, Completed, Report Published, Invoice Created, Invoice Paid, and Rescheduled triggers only support After or Immediate timing — for example, you cannot send a notification before an invoice is paid or a report is published.
Sending the payment link
Use Invoice Created, not Approved, for a "your invoice is ready" message. Approving an Order starts the invoice being generated, but the invoice — and the payment link inside it — only exists a few seconds later. An automation on Approved can send before the link exists, and the client gets an email with nothing to pay. Invoice Created fires the moment the invoice is ready to be paid, so *|PAYMENT_LINK|* always resolves.
It does not fire for a draft invoice, because a draft has no payment link and may never be issued.
Agent recipients
You can also send the message to the buyer's agent and listing agent attached to an Order — check Buyer's Agent or Listing Agent in the Recipients section.
Write the Message Template
Write your message content using the rich text editor. Use merge tags — placeholders in the format *|TAG_NAME|* that are replaced with real values when the message sends. The most-used tags are *|CLIENT_NAME|*, *|DATE|*, and *|INSPECTION_ADDRESS|*.
You don't have to type tags by hand — click the Merge Tags button in the editor, then click a tag to insert it. See the Merge Tags reference for every available tag and where each one works.
Save and Activate
Review your automation settings and click Create Automation.
What you should see
A confirmation appears that says Automation created, and the new automation shows up in your automations list. It is active immediately — it will fire the next time its trigger event happens.
If something goes wrong
- The Before option is grayed out. The trigger you picked only supports After or Immediate timing (see the list above). Pick a different trigger, or use Immediate.
- The Create Automation button is disabled. One or more required fields are missing — complete the required fields to create the automation.
- A scheduled message never went out. Open the Order's Automations tab. A pending message with no send time shows a Not scheduled reason. If it says automated notifications are off for this Order or this account, that setting was off when the message was created. If you can change that setting, a link next to the reason takes you there. Press Send Now to send this one, because turning automations back on doesn't schedule messages already waiting.
- A merge tag shows up as literal text in a sent message. The tag had no value when the message went out. Only use tags that will have a value by send time — see Merge Tags.
Managing Automations
From the automations list, you can:
- Toggle active/inactive — pause an automation without deleting it
- Edit — modify the trigger, timing, or message content
- Duplicate — create a copy to use as a starting point
- Delete — permanently remove the automation
Related
- Automation Recipes — ready-to-copy automations for reminders, confirmations, and follow-ups
- Merge Tags — every tag you can use in a message
- Order Statuses
- Send and Manage Notifications from the Mobile App